
Door Sensor Installation That Actually Works
You've got the sensor kit open on the kitchen counter, the door is standing there half-finished, and the job looks easy enough to knock out before dinner. That's where many get trapped, because door sensor installation is less about sticking two pieces of plastic on a frame and more about choosing the right sensor, the right spot, and the right amount of precision for the door in front of you.
A good install doesn't feel complicated once it's done. The hard part is deciding whether your door wants adhesive, screws, or a recessed body in the jamb, and whether the surface is clean and stable enough to hold alignment after a few months of slamming, humidity, and everyday use. The smallest mistake usually isn't the electronics, it's the gap, the angle, or the surface prep.
Table of Contents
- Standing at the Door Before You Start
- Choosing the Right Sensor Type for Your Door
- Tools, Surfaces, and Pre-Install Checks
- Mounting and Wiring the Sensor
- Pairing, Testing, and Confirming the Signal
- Placement Choices and Long-Term Reliability
- When to Call a Locksmith and Your Final Checklist
Standing at the Door Before You Start
The door is open. The sensor halves are in your hand. Maybe the kids are about to get home, or you've got a customer coming through the front entrance, and you're trying to turn a basic contact sensor into something that protects the place instead of becoming another half-installed gadget on the counter.
That moment is where the decision happens. The market for these devices is no longer a niche corner of the security world, it's part of a much larger home automation and security ecosystem. One report values the global door sensor market at $4.2 billion in 2025 and projects it to reach $8.1 billion by 2034, with 8.3% CAGR over that period, while residential applications account for about 55% of magnetic sensor demand according to the market report. That lines up with what installers see on the ground, most of the demand is ordinary homeowners, not just commercial facilities.
What makes the job different from a quick DIY
The best installs usually come down to fit, not flair. A typical home may need four to six sensors for average coverage, with one on each main living area on the ground floor and more in rooms that have glass exposure per consumer security guidance. That matters because the work isn't isolated to one door, it's usually part of a larger pattern of coverage.
Practical rule: if you rush the first sensor, you usually repeat the mistake on the rest.
The most common failure in the field is not a bad part, it's poor alignment and weak surface prep. Adhesive sensors can look fine on day one and still fail later if the door flexes, the magnet drifts, or the frame was dusty, glossy, or uneven. Recessed units avoid some of that surface drama, but they demand better drilling and more patience.
A careful ten minutes beats a frustrating redo. The rest of the work is just deciding which sensor style matches your door, how much drilling you're willing to do, and whether the door itself is a good candidate for the device you already bought.
Choosing the Right Sensor Type for Your Door
Not every door wants the same hardware. Renters, homeowners, and small business owners usually land on different sensor styles because the door material, the finish, and the tolerance for drilling all matter more than the product box suggests.
The four practical options
| Type | Best For | Install Method | Main Trade-Off |
|---|---|---|---|
| Surface-mount magnetic | Renters, quick upgrades, painted frames | Adhesive or screws on the door and frame | Fast to install, but more visible and more exposed to drift |
| Recessed, flush-drilled | Solid wood doors, cleaner finished look | Drilled cavity in door and jamb | Better appearance, but the install has to be precise |
| Wired | Permanent security systems, integrated setups | Low-voltage connection to the panel | More reliable path, but more labor and planning |
| Wireless | DIY smart homes, add-on monitoring | Pair to hub or panel, usually battery powered | Easier to place, but depends on batteries and signal stability |
Surface-mount is the usual answer when someone wants minimal disruption. It's also the safest choice for apartments and short-term living situations, because the door can be returned to normal with less evidence that a sensor was ever there. Recessed sensors are better when appearance and durability matter more than speed.
What fits which door
A solid wood door can usually take a recessed sensor without drama if the drilling is careful. A metal door is different, because the magnet gap can become finicky and some installations need spacers or specialty hardware. If the door is part of a larger commercial access system, wired often makes the most sense because the connection is fixed and doesn't depend on a battery getting replaced on time.
If the door flexes, sticks, or rides a heavy weatherstrip, don't force the sensor type you already own. Choose the one that matches the door, not the one that looked easiest online.
The key question is not which type looks smartest in a brochure. It's which one still works after the door gets used every day.
Tools, Surfaces, and Pre-Install Checks
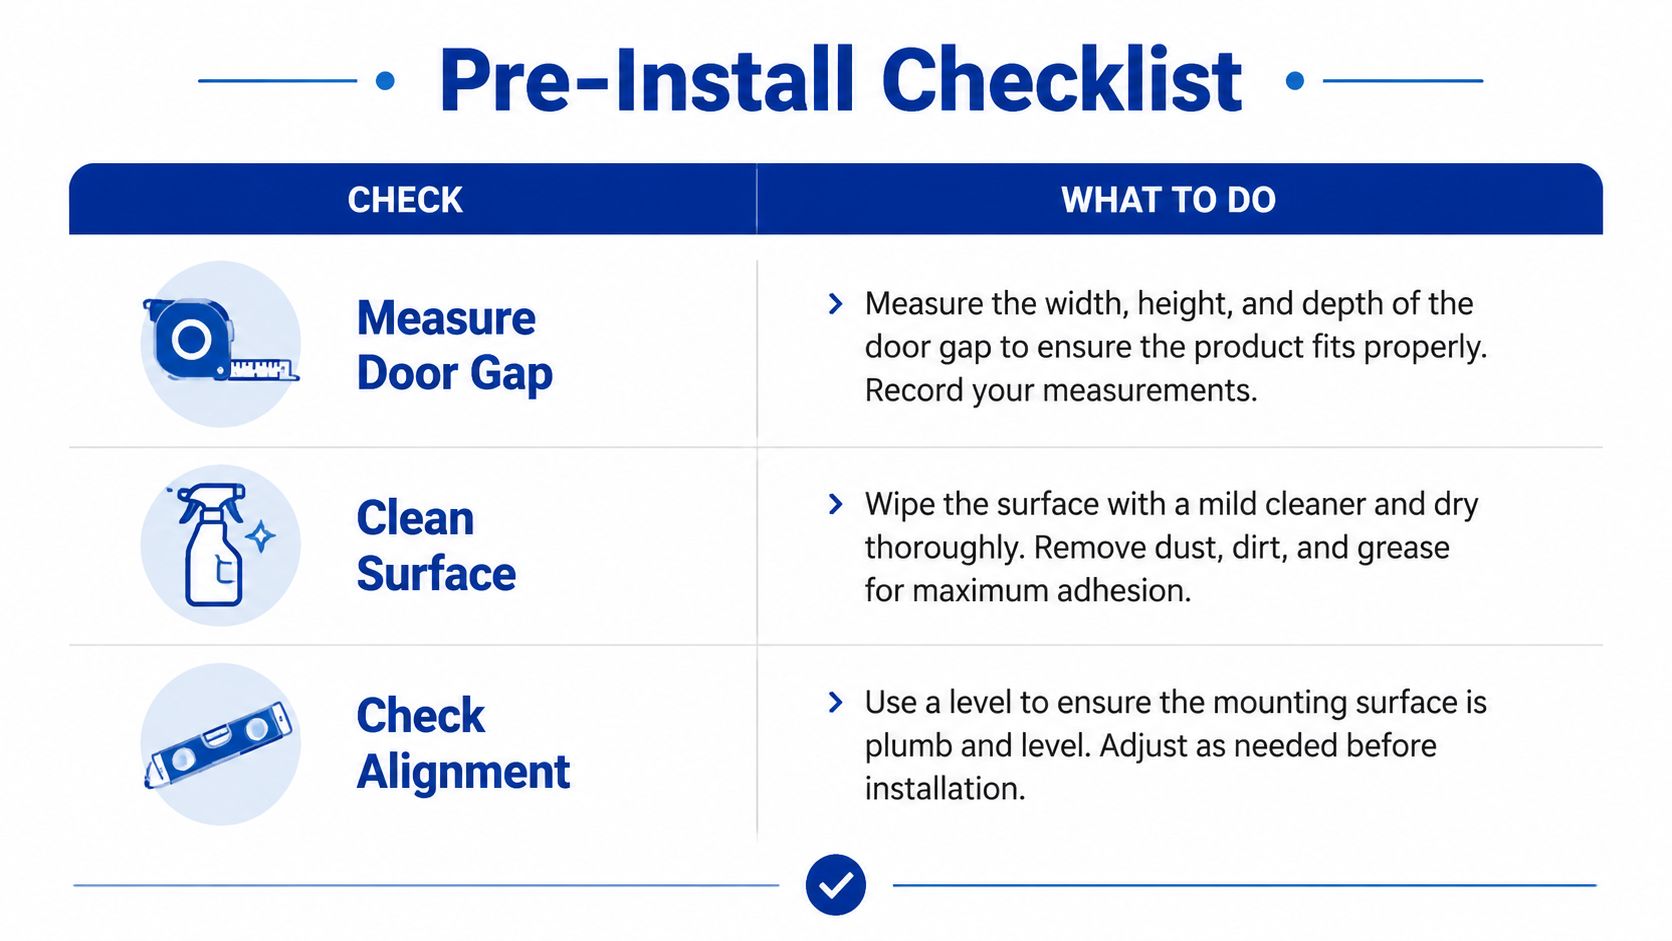
The install usually goes bad before the sensor ever touches the frame. A dusty jamb, a crooked magnet, or a door that binds when it closes will cause more trouble than the adhesive brand ever will.
What to have in hand
A simple kit is enough for most residential work. You want rubbing alcohol, a lint-free cloth, a tape measure, a pencil, painter's tape, a small drill with the right bit for recessed work, a screwdriver, and your phone with the app already installed. For flush-mount work, a depth stop matters too, because a hole that's too shallow or too deep creates alignment problems that only show up after the trim goes back in place.
Surface prep is where most adhesive jobs are won or lost. Clean both mounting points with alcohol, let them dry, then dry-fit the parts with painter's tape before you commit. That simple check catches bad positions fast, especially on painted trim with texture or on doors that close hard enough to knock a loose sensor off line.
The checks that save you from a redo
- Measure the gap first: confirm the door still closes with enough clearance for the sensor body and magnet.
- Clean all contact points: dust, wax, and residue reduce bond quality more than one might expect.
- Test the swing path: the door should move freely without scraping the device or the weatherstrip.
- Look at the frame material: if the surface is uneven or flexible, adhesive may be the wrong choice.
- Check for door flex: if the door shifts as it latches, a recessed or wired option may hold up better.
A sensor that fits only when the door is gently pushed shut isn't really installed. It's temporarily balanced.
Mounting and Wiring the Sensor
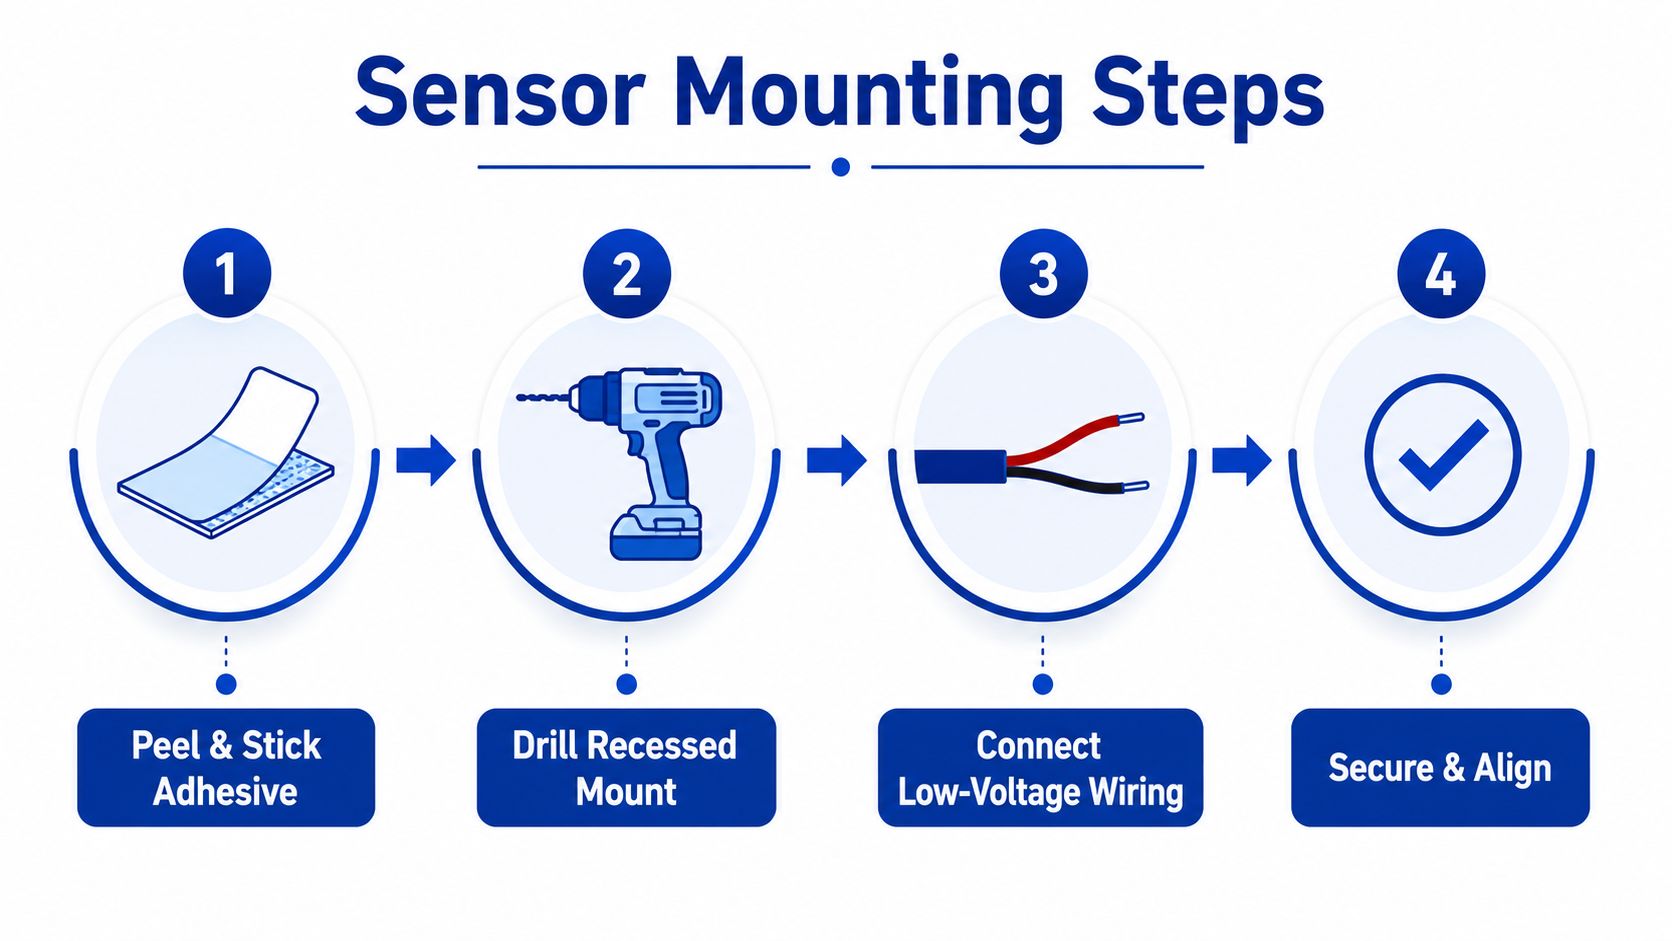
Adhesive surface-mount work
A sensor that looks straight on the bench can still fail on the door if the gap is off by a little or the surface is the wrong fit. Adhesive installs depend on surface prep and gap control, and that is where I see the most avoidable callbacks in Minnesota homes and small businesses. On non-magnetic surfaces, keep the sensor and magnet close together, and stay within the small gap the manufacturer allows. One practical guide warns that gaps bigger than about a quarter-inch can cause missed closures per the installation guide.
Press each piece in place firmly and hold it for the adhesive bond time, then work the door through several open-and-close cycles. If the magnet lands on the wrong side of the opening or the door clips it during travel, the setup is already on borrowed time. I have seen adhesive mounts hold fine on day one and fail later because the door flexed, the trim had texture, or the homeowner picked a spot that only worked when the door was shut gently.
Recessed and drilled installs
Recessed sensors look cleaner, but they ask for a steadier hand and a better read on the door material. One installation guide uses a 5/8-inch diameter hole and a 1/2-inch deep cavity for the sensor body, with the center set about 2 inches from the strike plate per the technical guide. Tape on the drill bit makes a practical depth stop, and a dry fit before final seating keeps the body from sitting proud or sinking too far into the cavity.
That fit matters in the field. A hole that is too shallow leaves the sensor exposed to the door edge or trim, while a hole that is too deep lets the body shift after a few cycles. On painted wood, soft trim, or older frames that have already moved a little, a recessed install can be the better long-term choice if there is enough material to work with.
Wired and wireless realities
Wired sensors need a clean route back to the panel and a path that will not get pinched every time the door moves. Do not run wire across the weatherstrip, because repeated movement wears through insulation and turns a neat install into a service call. If the door already has an opening or a proper path through the jamb, use it. A forced route often fails later, even if it looks tidy at first.
Wireless models are simpler to mount, but the battery orientation and the pairing window still matter. Insert the battery the right way, bring the sensor into pairing mode quickly, and confirm the hub sees it before the window closes. A sensor that is mounted but not paired is just dead weight on the door. When the job calls for a recessed body, a reliable cable path, or a door that flexes enough to make adhesive a bad bet, that is usually the point where a Minnesota locksmith should handle it instead of a DIY attempt that seems fine until it stops reporting months later.
Practical rule: test the sensor before you fully bury a recessed body or trust adhesive that has not settled.
Pairing, Testing, and Confirming the Signal
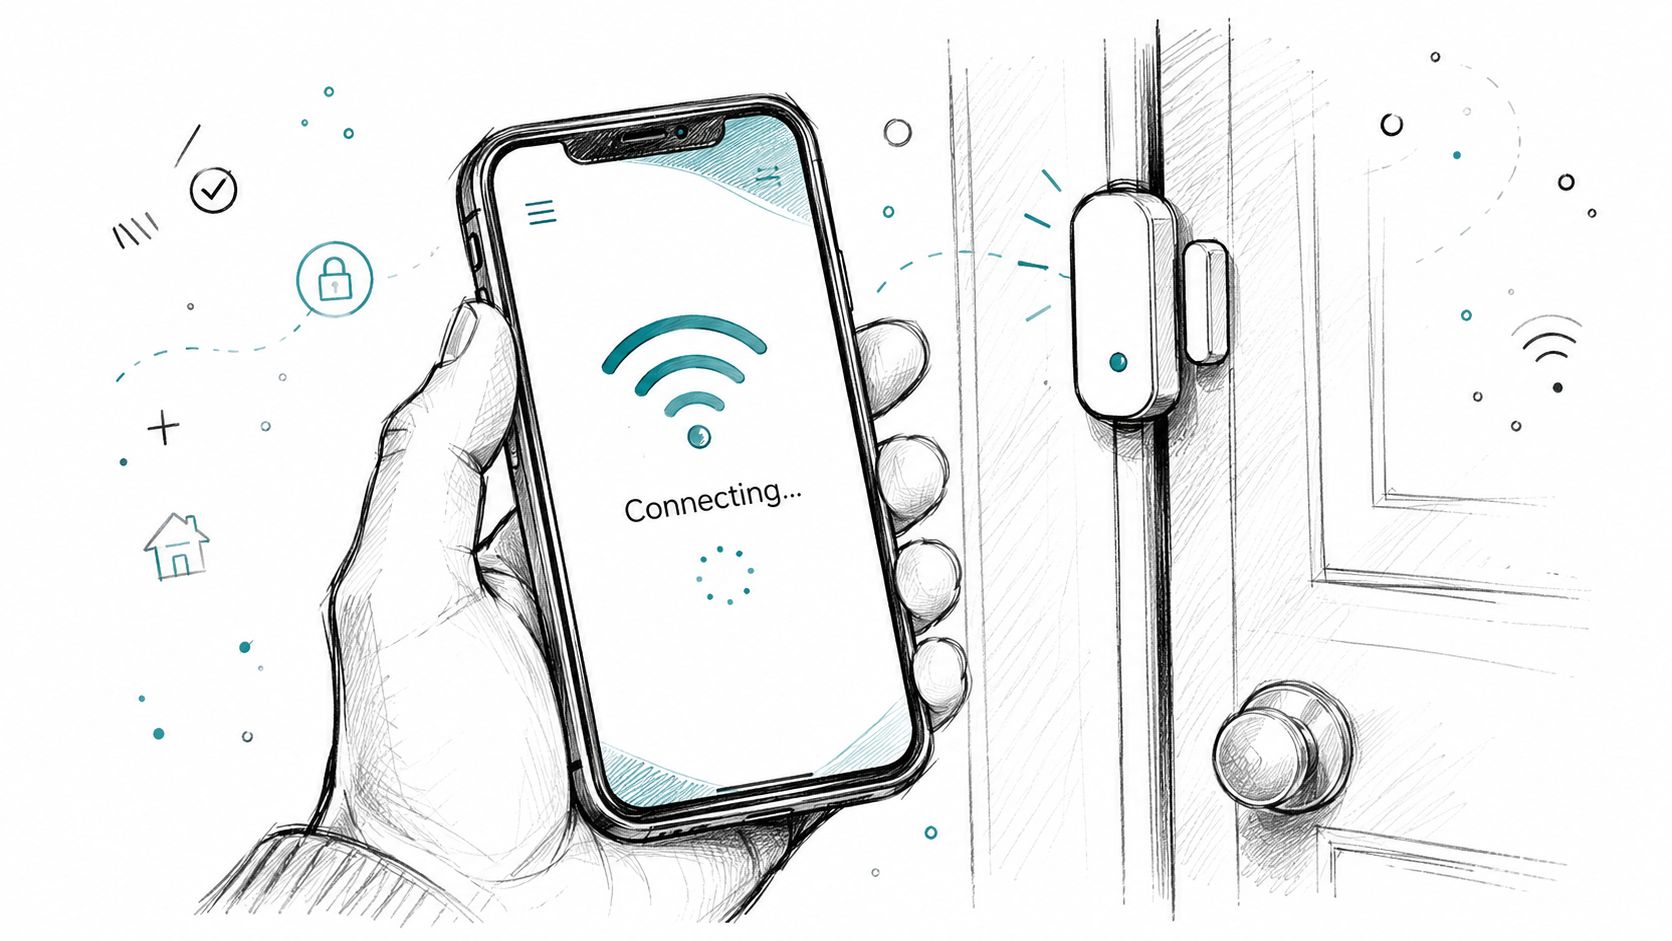
Mounting only gets the device onto the door. It still has to communicate with the panel, the app, or the automation hub, and that part is where many clean-looking installs fail.
Commissioning the sensor
App-based setup is straightforward when the device is paired at the right moment. Put the panel or hub into pairing mode, then bring the sensor close enough for discovery before the device stops searching. On some systems the indicator light tells you the sensor is seen, but the app is the final proof, because that's where you confirm the door name, status, and trigger behavior.
If the sensor appears but doesn't behave correctly, go back to the magnetic alignment before you chase software settings. Bad physical placement is more common than a bad wireless stack.
Testing that catches weak installs
Open the door slowly, then open it quickly. Close it firmly, then test it again from a slightly different angle, because a sensor that only works in one motion is not reliable enough for daily use. The point is to catch false negatives caused by a gap that's too wide or a magnet that's drifting after the first few cycles.
The same test also exposes adhesive creep and loose recessed seating. If the sensor changes state only when the door is shoved, the install needs adjustment before anyone trusts it with a real alarm.
A quick verification run is the best insurance you have. It takes less time than troubleshooting one false alarm later.
Placement Choices and Long-Term Reliability
The usual advice says to mount the sensor near the top of the door and move on. That works often enough to sound universal, but real doors don't behave universally.
Where the stress shows up
Hinge-side placement and latch-side placement don't age the same way. The hinge side usually sees less direct impact, but the latch side can be easier to service and sometimes gives a cleaner magnet path. Top-corner installs look tidy, yet they can drift if the door flexes during seasonal humidity swings or if the frame shifts slightly over time.
Middle-of-door placement avoids some corner issues, but it's more exposed to bumps, cleaning carts, kids, and accidental contact. In a small business, that exposure can turn into nuisance troubleshooting if people brush against the door throughout the day.
What fails after a few months
The failure pattern usually shows up later, not on installation day. Adhesive creep on textured paint is common. Magnet drift after repeated slams is common too. On metal doors, reinforcement or movement can gradually change the gap enough to make a sensor intermittent even though the hardware looked fine at the start.
Placement should balance invisibility, mechanical durability, and detection reliability. If one of those three is missing, the install becomes a maintenance issue.
The best position is the one that still closes cleanly after repeated use, survives weather changes, and doesn't get knocked loose by everyday traffic. That's why a nice-looking spot is not always the best spot.
When to Call a Locksmith and Your Final Checklist
Some installs are better left to a mobile locksmith than turned into a weekend project. Solid-core commercial doors, fire-rated assemblies, and doors tied to smart locks or access systems deserve more caution, because the drilling, wiring, or hardware integration can create more risk than a homeowner wants to absorb. If the door is part of a warranty-sensitive assembly, the safest move is to stop before you void anything.
Final pre-use checklist
- Surface fully prepped: both mounting points are clean, dry, and stable.
- Gap measured carefully: the magnet and sensor close within the required tolerance.
- Door swings freely: nothing catches the device, weatherstrip, or trim.
- Sensor paired and visible: the app or panel sees the device clearly.
- Multiple tests passed: slow, fast, and firm closures all trigger correctly.
If you're in the Twin Cities metro and already planning rekeying, lock changes, or a smart-lock upgrade, a local mobile locksmith can often handle the sensor work in the same visit. That's usually the smarter route when the door is fussy, the hardware is permanent, or you want the install done once instead of revisiting it after the adhesive lets go.
A professional install is less about paying for convenience and more about avoiding the quiet failures that show up later. Visit Mena's Key if you want help from a Minnesota locksmith who can evaluate the door, handle the hardware, and take care of the sensor work before it becomes a false-alarm problem at the worst possible time.